
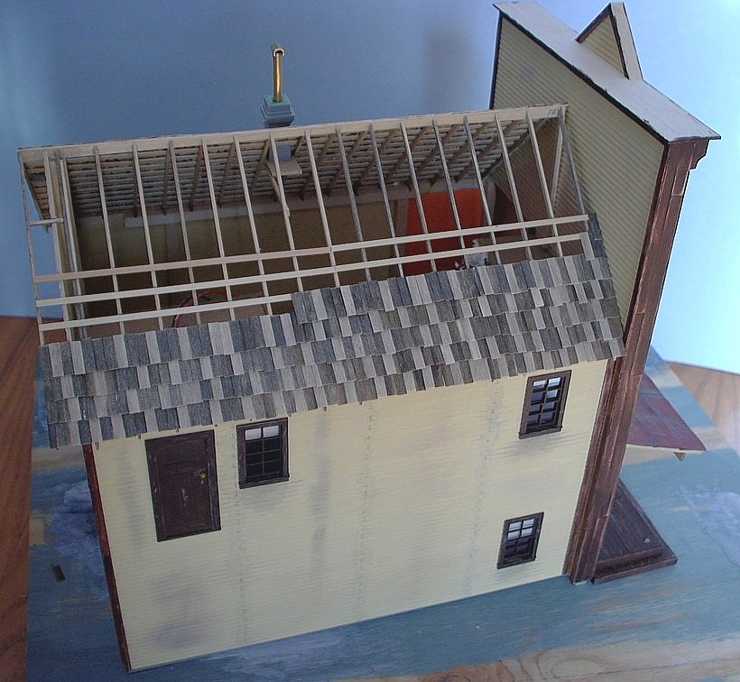
Time-wise, the main roof took the longest to construct. The rafters were made from scale 2x4's with their ends cut at 45 degree angles and weathered with my medium black shoe dye and alcohol mix. Note the prototypical "ladder" at the end to support the roof overhang. For the ridge pole at the roof peak, I used a scale 2x12, 32 scale feet long. I chose 12" stock so that I could carve a subtle sag in the roof. The carved 2x12 is supposed to represent pieces of 1x6" material that would have been toe-nailed together to make a single piece that was 32' long.
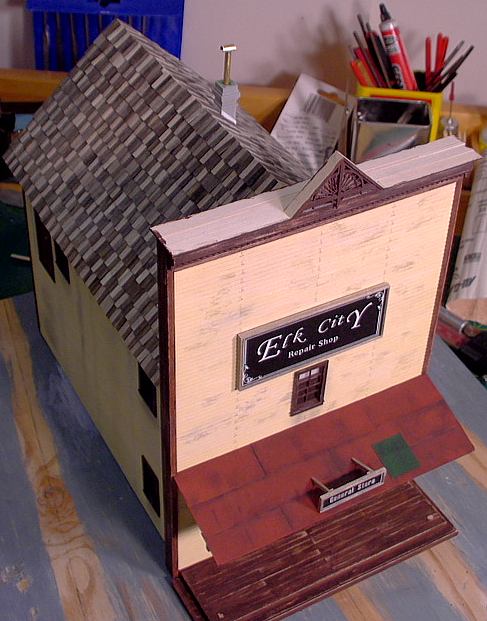
The roofing material is 1x12" HO-scale basswood (roughly 1/2" x 6" in O-scale) and was scraped lengthwise to make the pieces appear as hand-split cedar shakes (shingles are sawn). They were then stained with various shades of my alcohol / shoe dye mix and then cut into roughly 1,600 individual shakes (about 60 shakes per row) with a Northwest Short Line chopper tool. It took 7 packs of Mt. Albert scale lumber to provide me with enough material for the shakes. Later, I will use weathering chalks on the shakes to reduce the colour variation a little.
Since the Elk Valley Timber & Tie Co. layout is not yet built, I built a simple base for the Merchandise building so that I could display it. Once I have the yard section of the Elk Valley Timber & Tie Co. L-girder under frame completed, I can "plant" the building including the base right onto it.
The walls were weathered with a dry brushing technique. I also used weathering chalks to represent a "run down" look. The basswood siding was detailed with a sharp X-Acto knife to show the siding joins and a dress makers pin held in a spare X-Acto handle for the nail holes. I used Polly S "oxide red" paint on all the holes to represent rust.
The windows and doors are Grandt Line detail parts and were glazed with clear styrene. The paper blinds were added later.
Once the wall sections were complete, I glued them together and added strip styrene to represent the foundation.
More coming later...
 or here
  to return to the Railroading Corner home page.